If your daily workflow calls for elevated permissions most of the time, you don't have to keep confirming an admin prompt for the same program over and over. Windows 11 lets you flag a specific app so it always launches with administrator rights.
Right-clicking a shortcut and choosing "Run as administrator" every single time works, but it gets old fast when you rely on the same tool constantly.
Fortunately, you can set an app to request elevation automatically, and the steps below walk you through it.
Setting an app to always launch as administrator on Windows 11
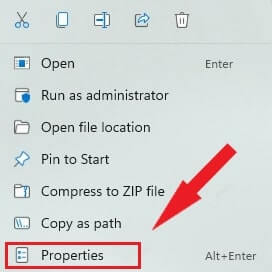
- Find the shortcut or executable for the app you want to configure, then right-click it to open its context menu.
- Choose Properties.
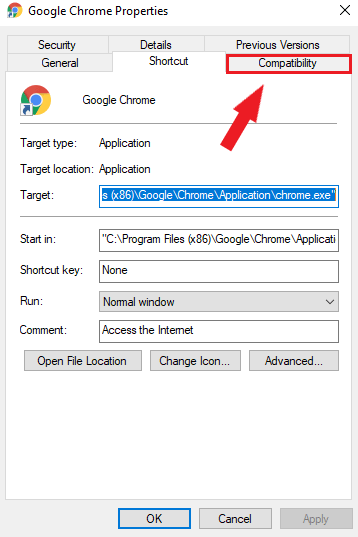
- Switch to the Compatibility tab.
- Under the Settings section of the Compatibility tab, tick the box labeled "Run this program as an administrator."
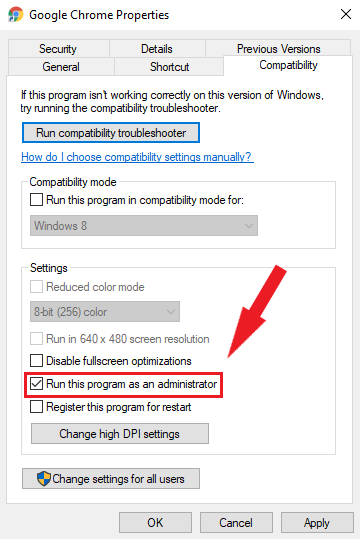
- Click Apply to save the setting.
- Click OK to close the Properties window.
Once this is set for a particular program, that program will request administrator rights automatically every time it starts from then on.

No Comments