Error messages are never fun, and the “Class Not Registered” message is one that tends to leave Windows users scratching their heads. It can pop up in a variety of situations and get in the way of whatever you were trying to do. Here’s what causes it and the fixes that typically resolve it.
What does “Class Not Registered” actually mean?
This error shows up when a program can’t locate or access a DLL (Dynamic Link Library) file or COM (Component Object Model) component it needs to run. In plain terms, Windows is telling you that the specific component the app is looking for isn’t registered on the system, or isn’t there at all.
What typically causes this error
- Missing or damaged DLL files: If an important DLL file is corrupted or gone, this error can appear.
- Registry problems: Broken or invalid registry entries tied to the missing class can trigger the same message.
- Conflicts between programs: Incompatible software or clashing installations can interfere with how classes are registered, causing the error to surface.
Ways to fix the “Class Not Registered” error
Run System File Checker and DISM
Both of these built-in tools scan for and repair damaged system files, DLLs included.
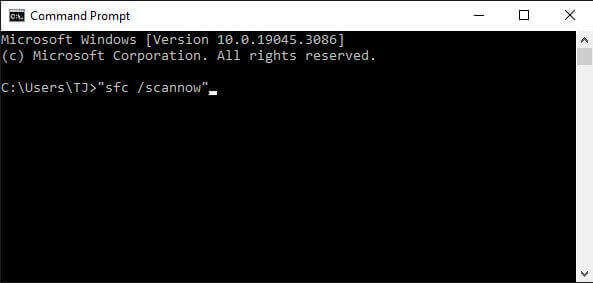
- Launch Command Prompt with administrator rights.
- Run “sfc /scannow”
- Follow it with “DISM /Online /Cleanup-Image /RestoreHealth”.
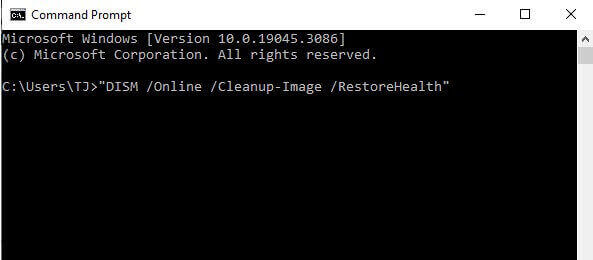
- Wait until it finishes, then check whether the error is gone.
Restart File Explorer
- Right-click the Start button and choose “Task Manager.”
- Find “Windows Explorer” in the list, right-click it, and select “Restart.”
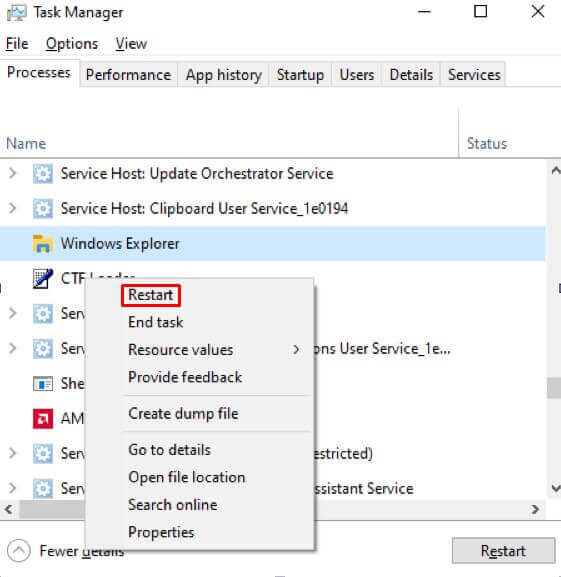
- Confirm “Restart” from the menu.
- File Explorer will close briefly and reopen on its own.
Re-register the affected DLL file
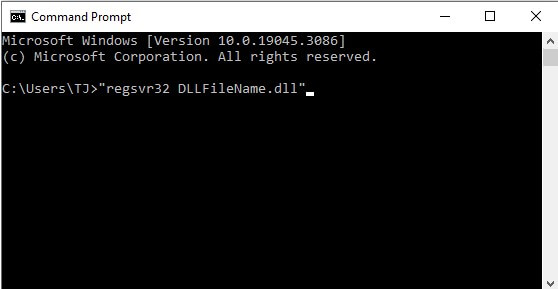
When a specific DLL is to blame, you can re-register it manually. Open Command Prompt as administrator and enter “regsvr32 DLLFileName.dll” (using the actual DLL name in place of “DLLFileName.dll”). Press Enter and check whether that clears things up.
Reset your default apps
If this error shows up specifically when opening File Explorer, one of your default apps may be at fault, and resetting all of them can fix it.
On Windows 11:
- Open Settings.
- Go to “Apps,” then “Default Apps.”
- Find “Reset All Default Apps” and click “Reset.”
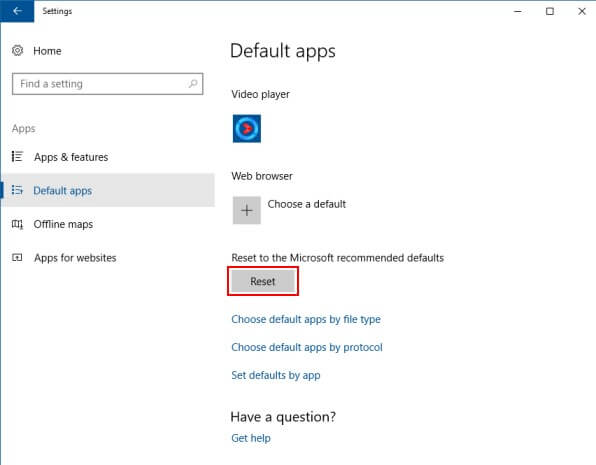
- Confirm the action when prompted by clicking “OK.”
On Windows 10:
- Open Settings.
- Go to “Apps,” then “Default Apps.”
- Scroll to “Reset to the Microsoft Recommended Defaults.”
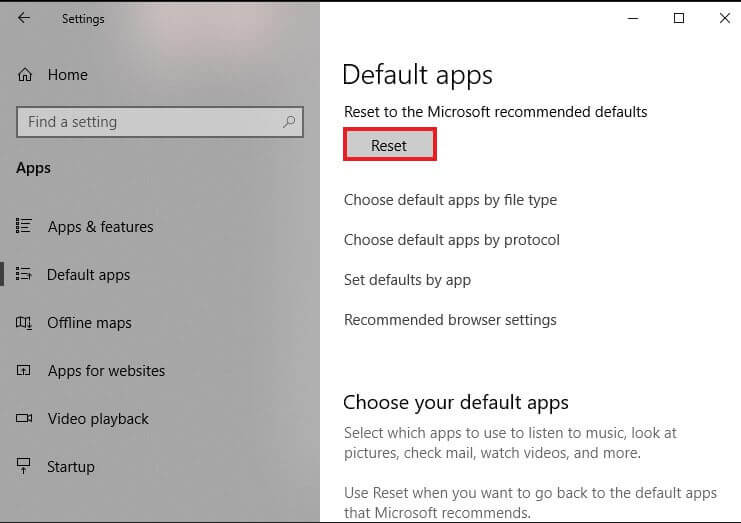
- Click “Reset.”
Once reset, open File Explorer using Windows+E and confirm the error no longer appears.
Use System Restore
If the error started recently, rolling back to an earlier restore point can help. You can find System Restore through Control Panel or by searching for it in the Start menu.
For a full walkthrough of Windows System Restore, see our guide here.
Re-register Microsoft Store apps
- Open the Start menu.
- Find “PowerShell” and right-click it.
- Choose “Run as Administrator.”
- Approve the “User Account Control” prompt by selecting “Yes.”
- In the PowerShell window, run this command:Get-AppxPackage -allusers | foreach {Add-AppxPackage -register “$($_.InstallLocation)\appxmanifest.xml” -DisableDevelopmentMode}
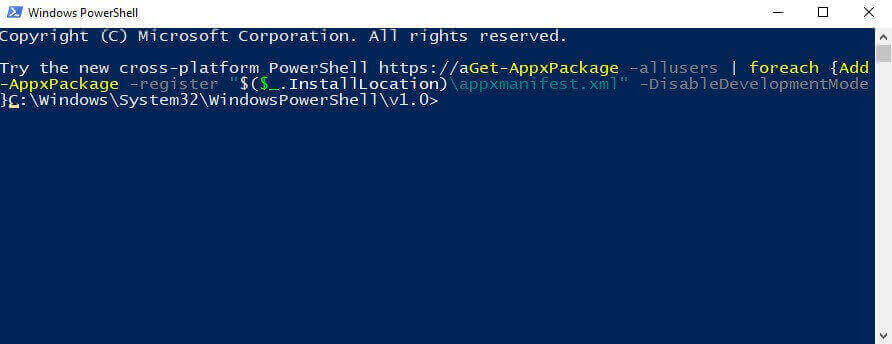
This re-registers every Store app for every user account on the PC.
Give it a moment to finish, then reopen the Microsoft Store app that had previously shown the error — it should now launch normally.
Re-registering Store apps this way is a reliable fix for a range of Store-related glitches, not just this one.
Look for conflicting applications
Uninstall anything you installed or updated recently that might be conflicting with the affected program. Restart afterward and see if the error is still present.
Update or reinstall the affected app
Make sure the program showing the error is fully updated — check the developer’s site or the app’s built-in updater. If updating doesn’t help, uninstalling and reinstalling it often does.
Try a clean boot
A clean boot loads Windows with only the essential startup items and services enabled, which makes it easier to spot software conflicts. Microsoft’s support site has full instructions for performing one.
Wrapping up
Seeing the “Class Not Registered” error is frustrating, but the fixes above cover the most common causes. Work through them one at a time, and set a system restore point before making any major changes. If nothing here resolves it, reaching out to a knowledgeable technician or the relevant software’s support team is a reasonable next step.

2 Comments
works thank you very much
Me funciono!!!